Photo to Cross Stitch Pattern Settings
Photo to Cross Stitch Pattern Settings
Co-Founder & Lead Developer
Getting a clean, stitchable pattern from a photo depends heavily on the settings you choose. Here's a breakdown of the best settings for different types of projects.
Grid Size: The Foundation of Your Pattern
The grid size determines how many stitches wide and tall your pattern will be. This directly affects detail and project duration.
| Grid Size | Detail Level | Stitch Time | Best For |
|---|---|---|---|
| 40x50 | Low | 1-2 weeks | Simple icons, silhouettes |
| 60x80 | Medium | 3-6 weeks | Portraits, pets |
| 100x130 | High | 2-4 months | Detailed landscapes |
| 150x200 | Very High | 6-12 months | Photo-realistic pieces |
Recommendation: Start with 60x80 for your first photo conversion. It's detailed enough to be recognizable without being overwhelming.
Color Count: Finding the Balance
More colors mean more realism but also more DMC threads to buy and manage. Here's the sweet spot:
- 8-12 colors — Great for stylized, graphic-looking patterns. Works well with simple subjects.
- 15-20 colors — The sweet spot for most photo conversions. Enough detail without too many thread changes.
- 25-40 colors — For when you want near-photographic accuracy. Best with larger grid sizes.
Fabric Count and Finished Size
Your fabric count determines the physical size of the finished piece. Here's how grid size translates to finished dimensions on common fabrics:
Turn Any Photo Into a Cross Stitch Pattern
- Accurate DMC color matching
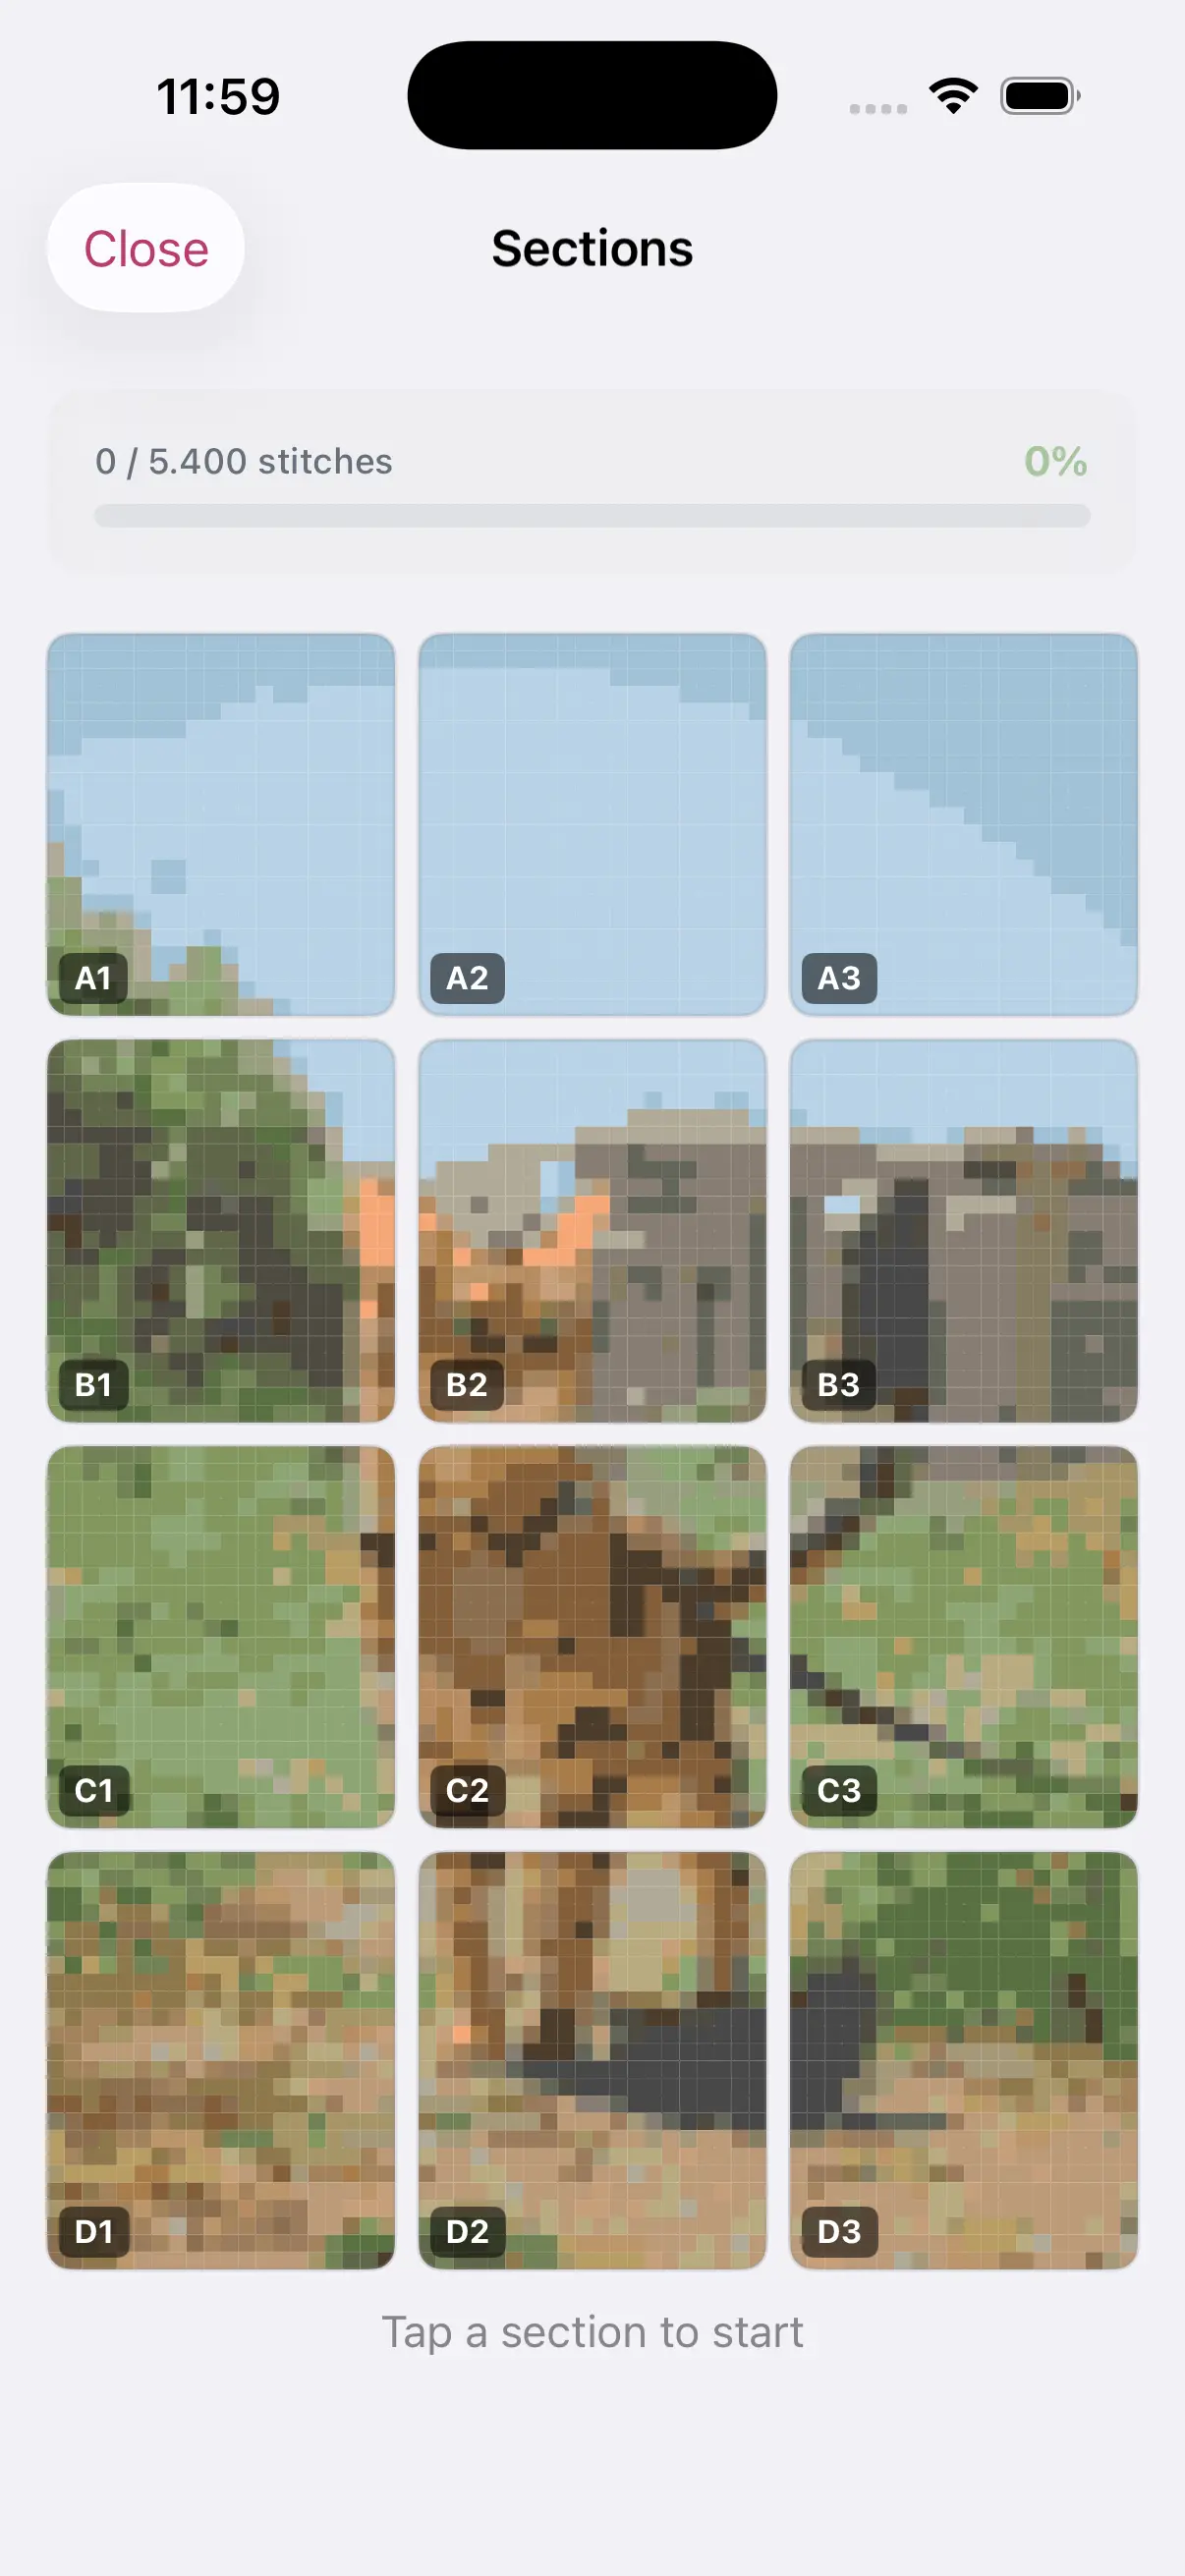
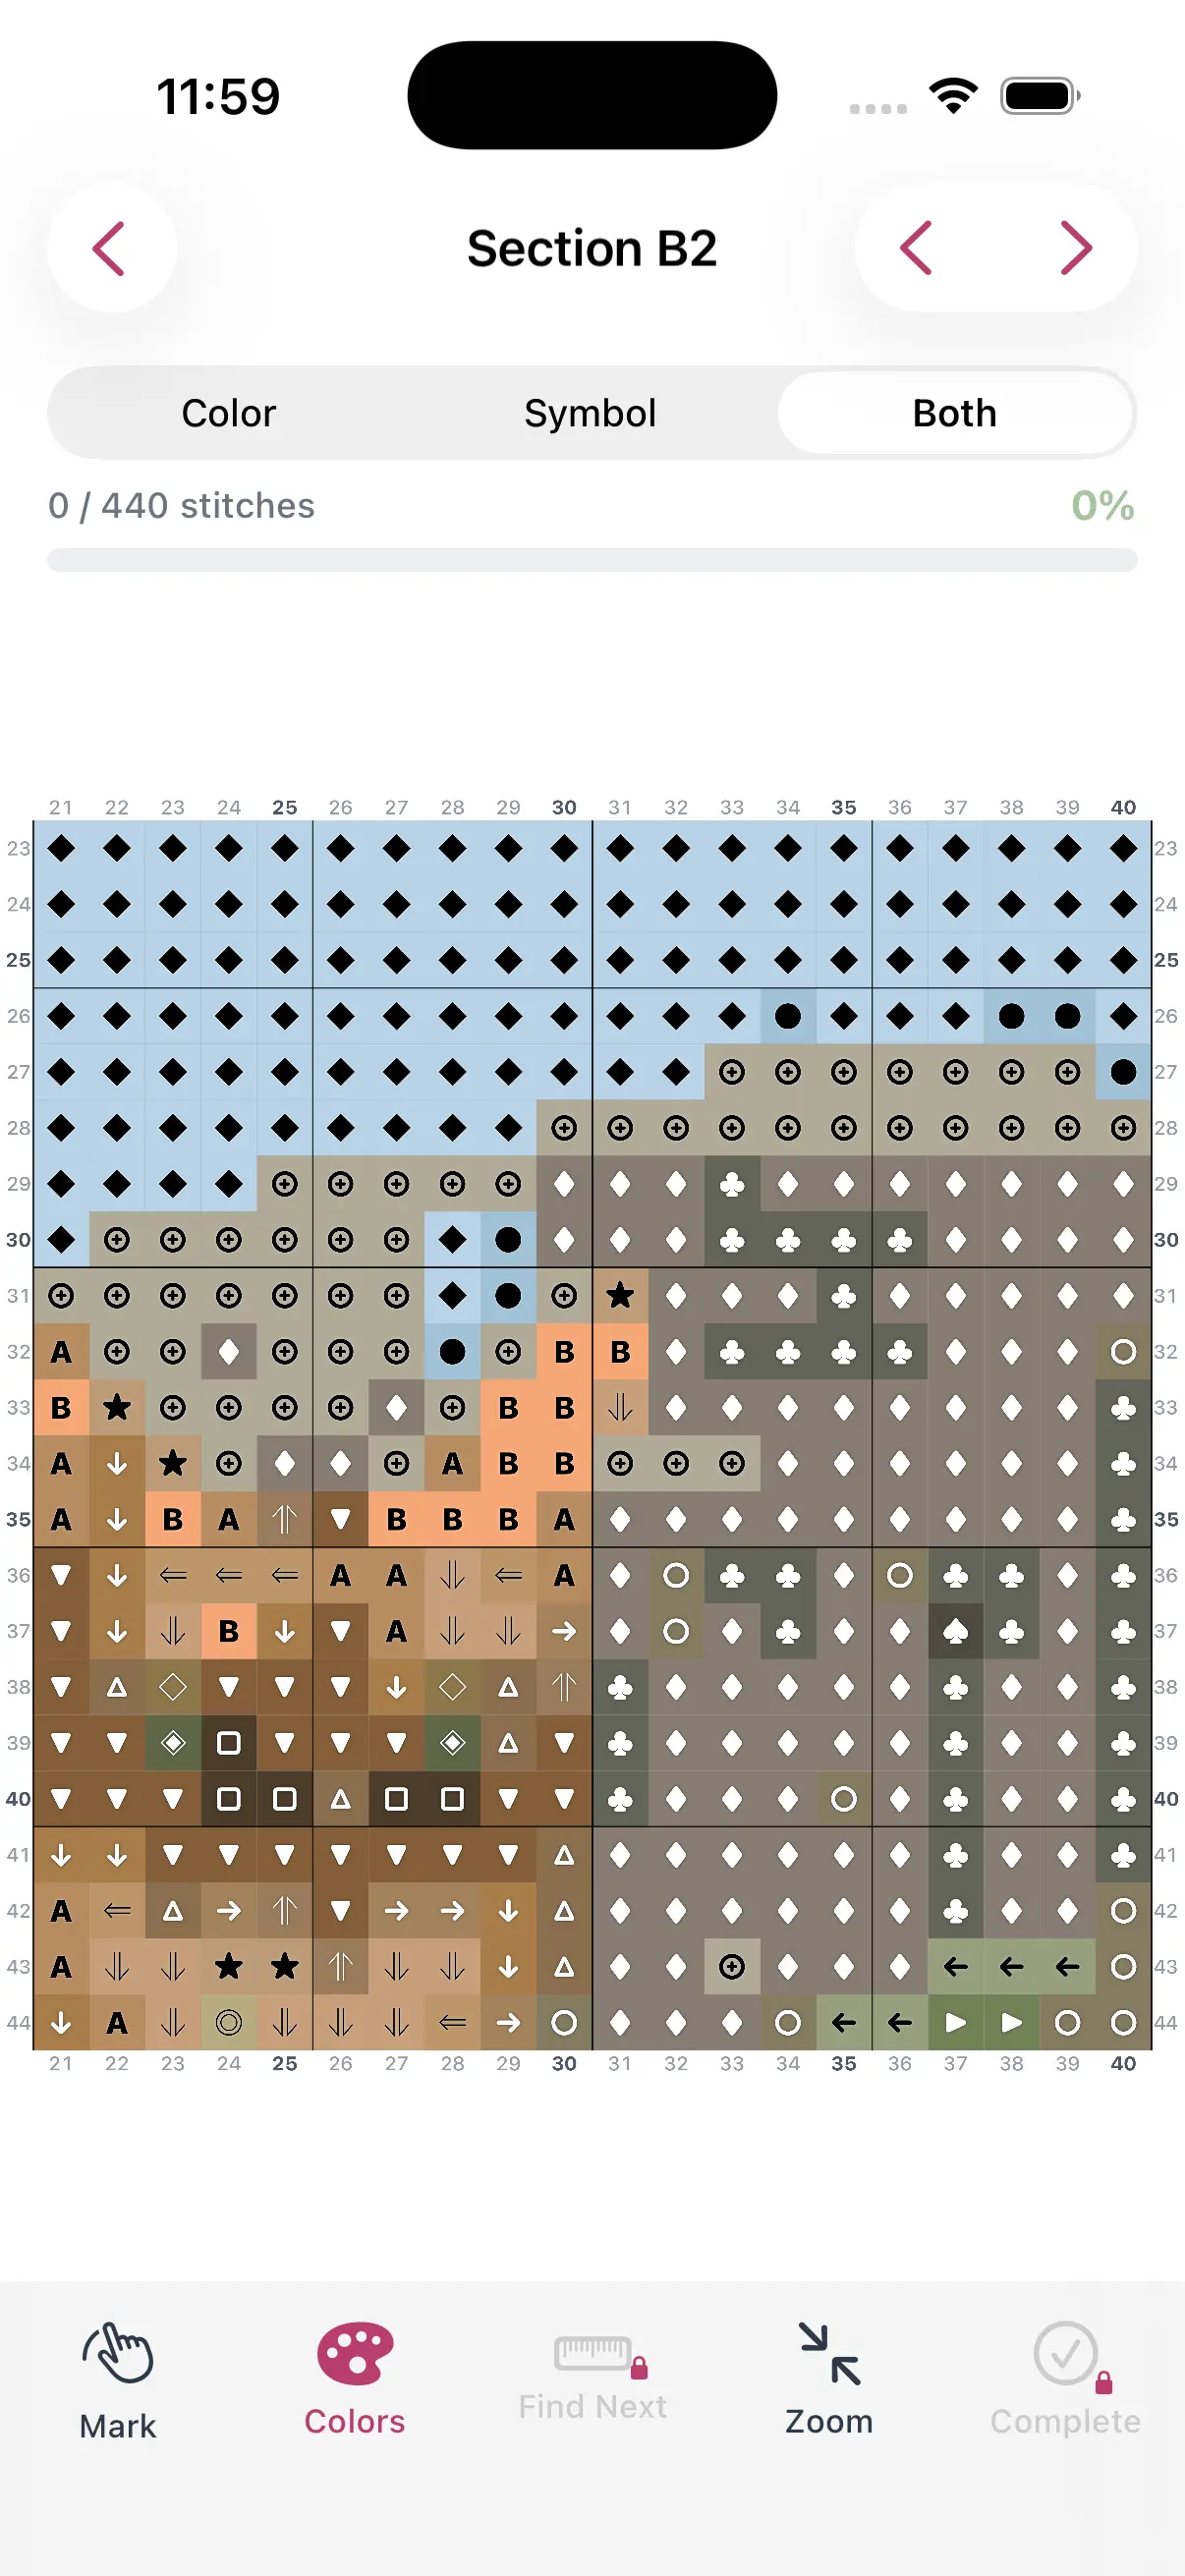
- Track progress stitch by stitch
- Export print-ready PDF charts
iPhone & iPad
A 60x80 stitch pattern on 14-count Aida fabric will be approximately 4.3 x 5.7 inches (11 x 14.5 cm). On 18-count, it shrinks to 3.3 x 4.4 inches.
Tip: If you want a specific finished size, work backwards. Decide the dimensions first, then calculate the grid size based on your fabric count.
Photo Preparation Tips
Before converting, optimize your photo:
- Crop tightly to the subject
- Increase contrast slightly in your phone's photo editor
- Reduce noise if the photo was taken in low light
- Simplify the background — a busy background creates unnecessary stitches
Advanced: Manual Color Adjustments
After generating your pattern, use the color editor to:
- Merge similar DMC colors to reduce thread count
- Replace hard-to-find colors with readily available ones
- Adjust the balance between warm and cool tones
The best settings depend on your specific photo and goals. Experiment with a few combinations before exporting your final pattern.