Printable Cross Stitch Patterns Guide
Printable Cross Stitch Patterns Guide
Co-Founder & Lead Developer
Many stitchers prefer working from a printed pattern rather than a screen. Printable cross stitch patterns give you a physical chart you can mark up, highlight, and keep next to your stitching frame.
Why Print Your Patterns?
Digital tracking is great, but printed patterns have their own advantages:
- No screen glare — Easier on the eyes during long stitching sessions
- Mark directly on the chart — Highlight completed rows with a marker
- No battery needed — Your paper pattern never runs out of charge
- Tactile navigation — Some stitchers find it easier to track position on paper
- Backup copy — A printed pattern is a physical backup of your project
Creating Printable Patterns
Generate Your Pattern
Use a pattern maker to create your chart from a photo or image. Adjust grid size, color count, and other settings until the preview looks right.
Export as PDF
Export the pattern as a PDF file. A good pattern maker produces a PDF that includes:
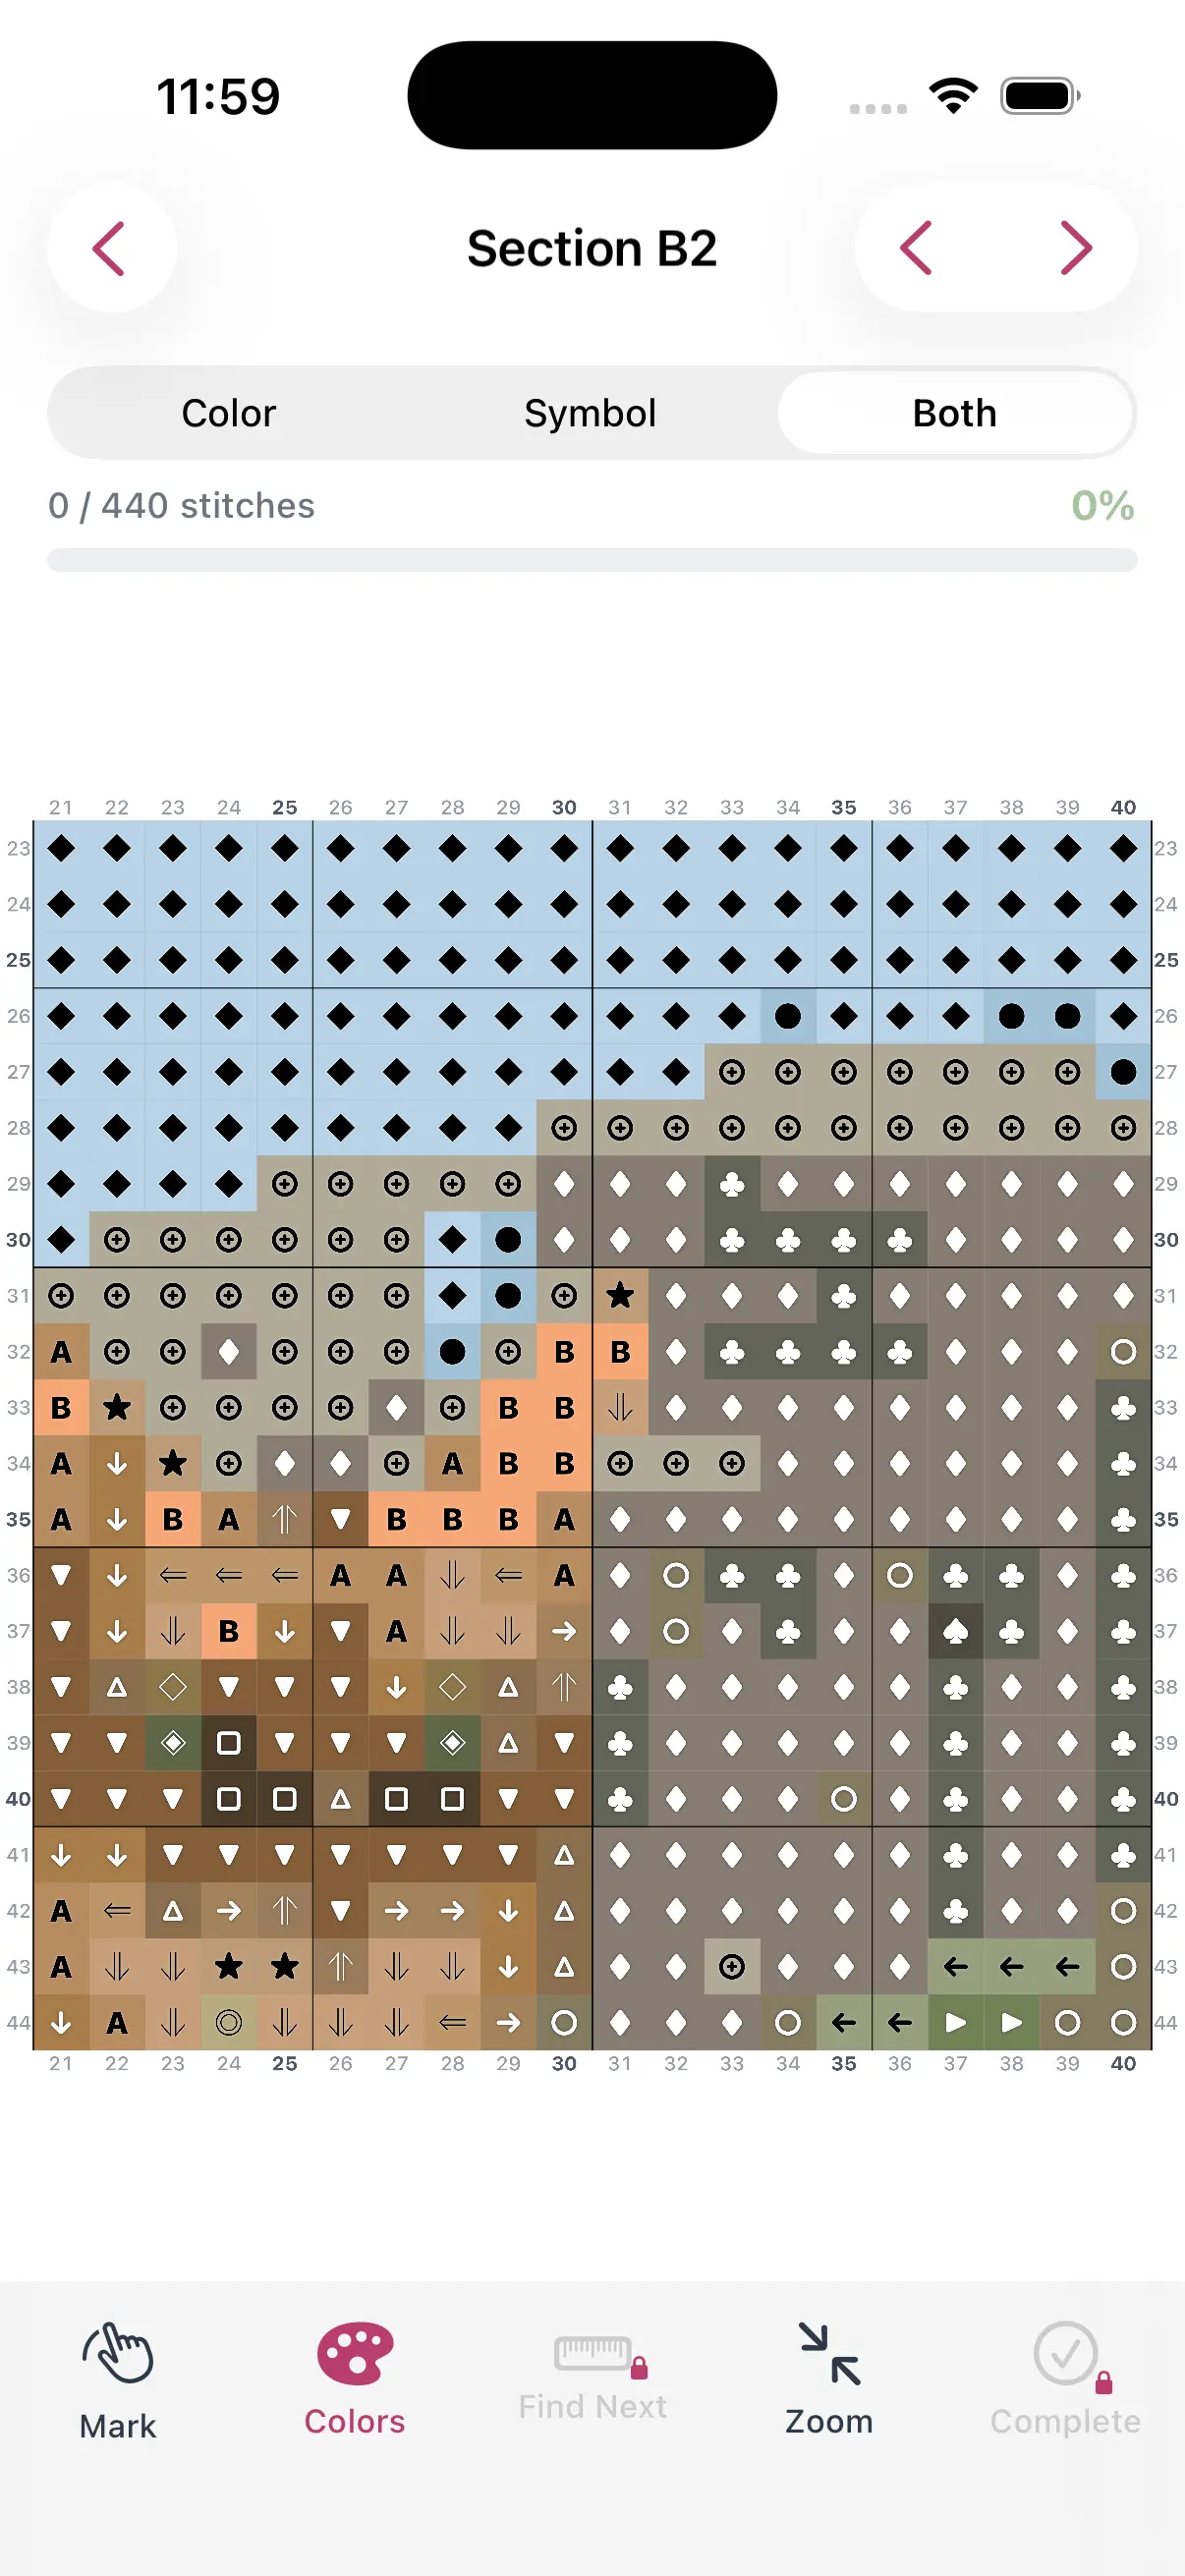
- Symbol chart — Black and white grid with one symbol per DMC color
- Color key — Maps each symbol to its DMC thread number and color name
- Thread list — Complete list of DMC colors needed with estimated quantities
- Pattern info — Grid dimensions, stitch count, and recommended fabric size
Print Settings
For the best results when printing:
- Use actual size — Don't scale to fit. Symbols become unreadable when shrunk.
- Print on good paper — Heavier paper (80+ gsm) holds up better to handling and highlighting
- Color or black and white — Symbol charts work great in black and white, saving ink
- Multiple pages — Large patterns may span several pages. Tape them together or work one page at a time.
Working with Printed Patterns
Turn Any Photo Into a Cross Stitch Pattern
- Accurate DMC color matching
- Track progress stitch by stitch
- Export print-ready PDF charts
iPhone & iPad
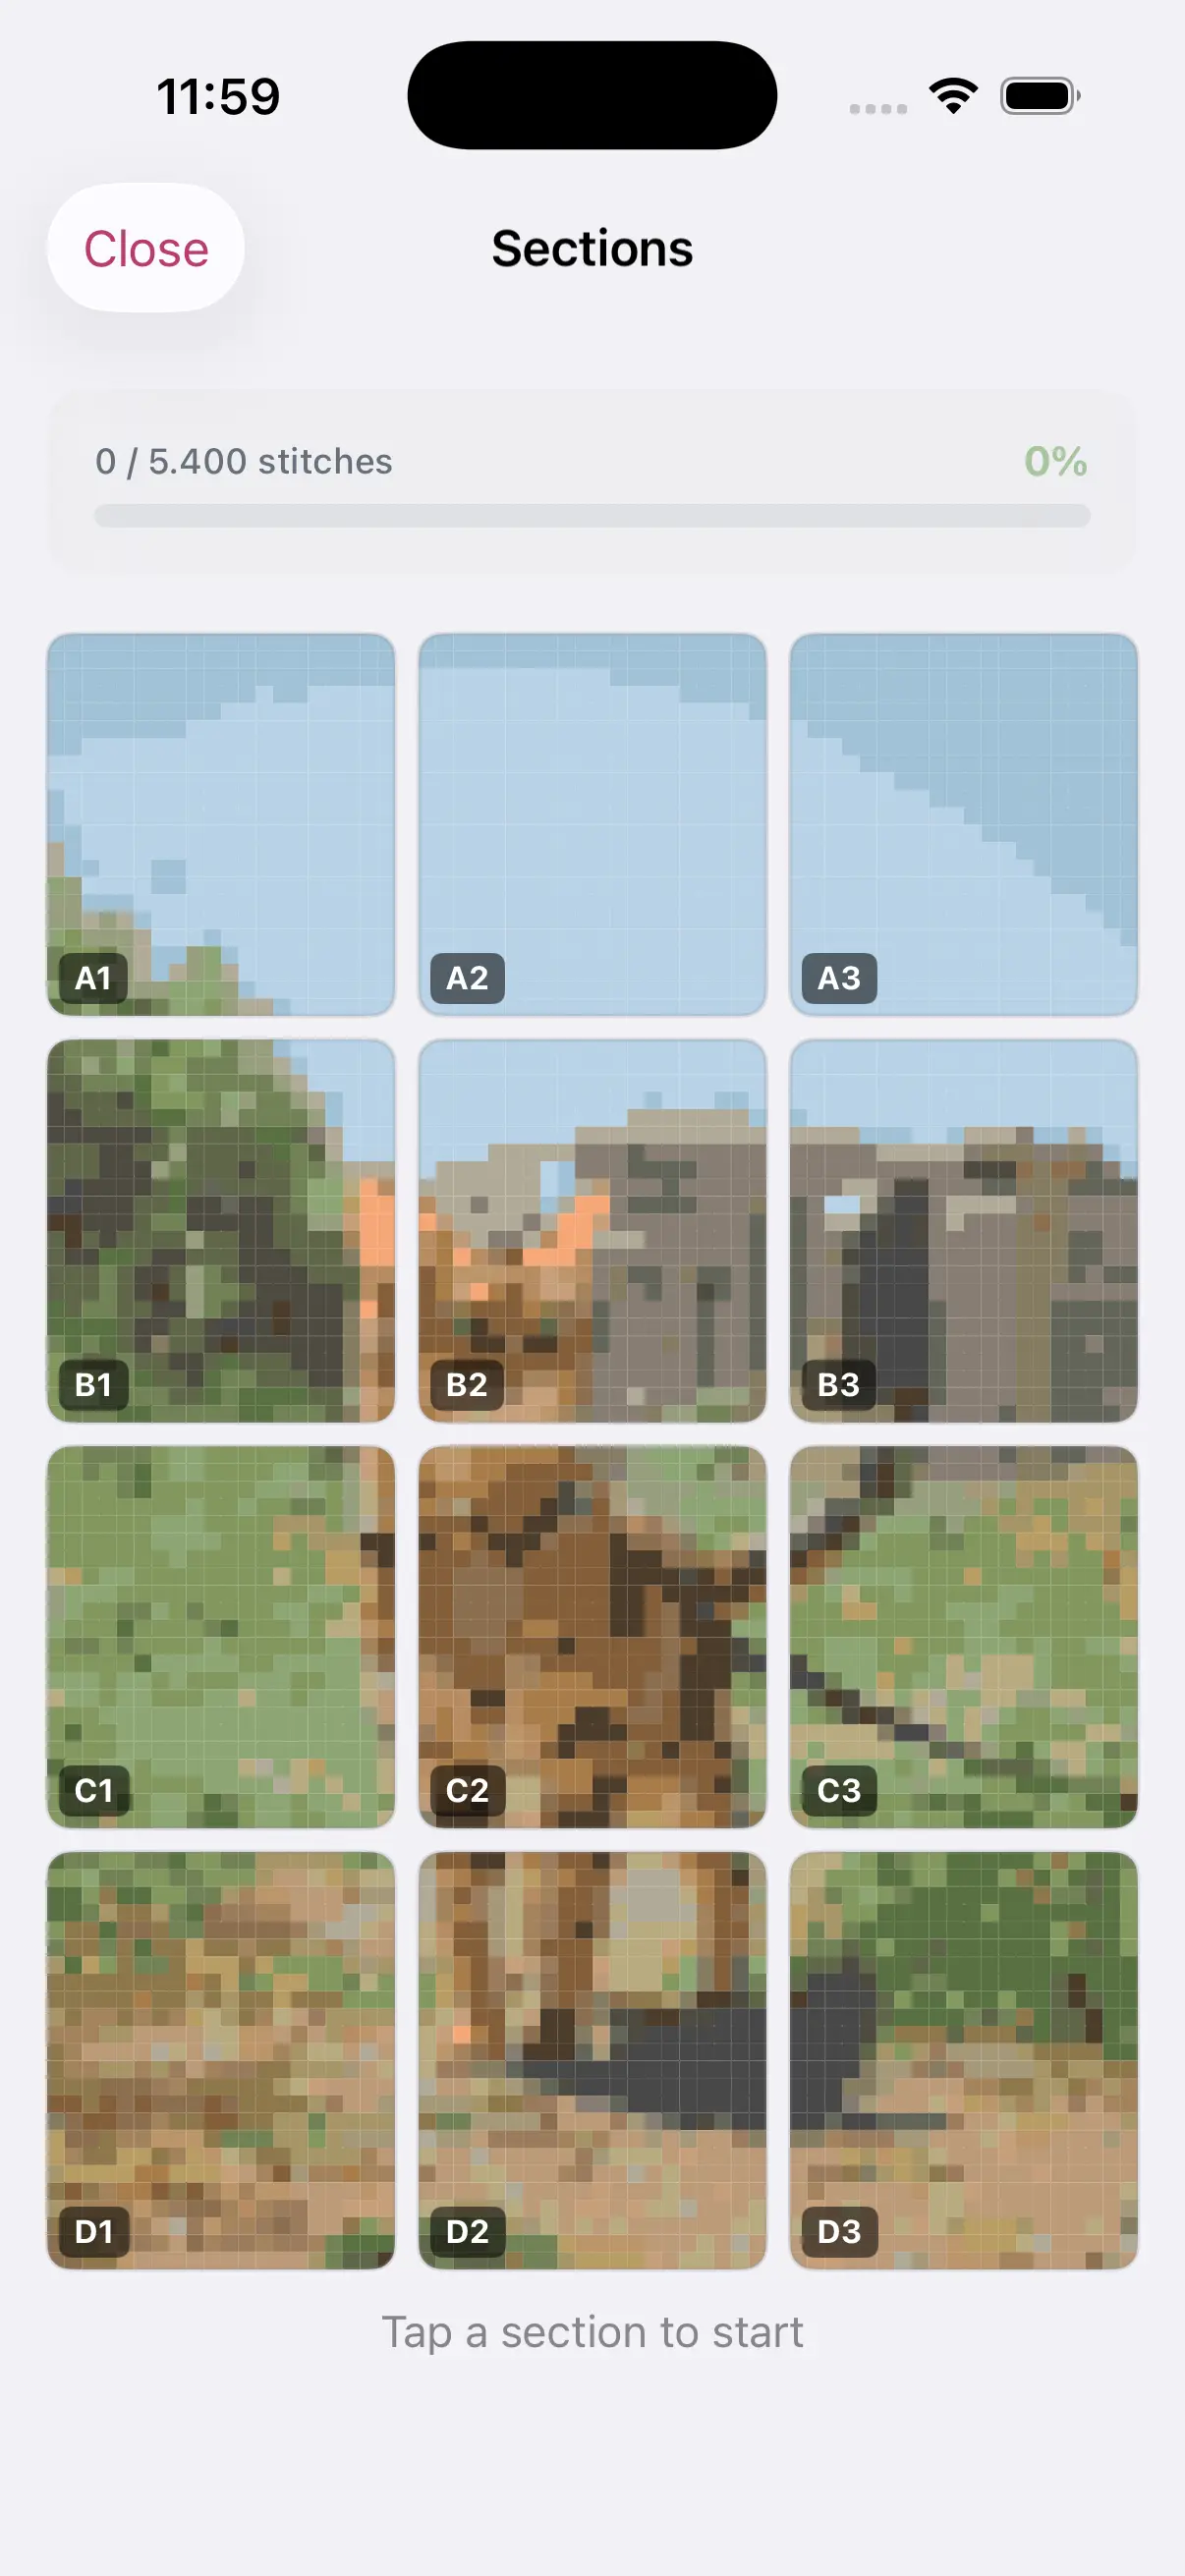
Organize Your Pages
For multi-page patterns, number the pages and note which section each covers. Mark the overlap areas so you can align sections correctly.
Track Your Progress
Use highlighters to mark completed sections:
- Yellow for completed stitches (light enough to still see the symbols)
- Different colors for different sessions to see your pace over time
- Cross out completed colors on the thread list as you finish them
Protect Your Pattern
Slip your current page into a clear plastic sleeve. You can mark on the sleeve with a dry-erase marker and wipe it clean if you make a mistake.
Use a Pattern Holder
A magnetic pattern board with ruler strips helps you track your current row. The magnets hold the ruler in place and keep the pattern flat.
Print vs Digital: When to Choose Each
| Scenario | Best Choice |
|---|---|
| Long stitching sessions | Print (easier on eyes) |
| Quick sessions on the go | Digital (always with you) |
| Very large patterns | Digital (easier to zoom) |
| Sharing with friends | Print (easy to hand over) |
| Complex color patterns | Both (print for stitching, digital for [progress tracking](/cross-stitch-progress-tracker)) |
Combining Print and Digital
Many stitchers use both approaches: a printed chart at their stitching station and the digital app for progress tracking and reference. The printed chart is easy to glance at while stitching, while the app tracks your overall progress and provides a zoomed-in view of tricky sections.
Printable patterns remain a staple for cross stitchers. With a quality pattern maker that exports clean PDFs, you get the best of both worlds — digital convenience for creating patterns and paper reliability for stitching them.